Exploring how to record video on Windows 10? Check out our curated list of 6 smart video recorders for the perfect output!
Whether it’s an online class, creating a presentation, or cooking up something for YouTube, you might want to record a video on Windows 10. Well, there are a variety of third-party tools- paid and unpaid can do the job. Also, you can take advantage of some built-in tools available in Windows 10. But the problem is – How to Record Video on Windows 10? Read this article till the end, and learn screen recording in Windows 10 using both built-in and third-party tools.
Let’s dive into it!
|
Navigation Part 1: How to Choose the Best Video Recorder for Windows 10? Part 2: How to Record video on Windows 10 with built-in Recorder Part 3: How to Record Video on Windows 10 with a Webcam Part 4: The 6 Best Smart Video Recorders to Record Videos on Windows 10 Conclusion FAQs |
Part 1: How to Choose the Best Video Recorder for Windows 10?
Before choosing the best video recorder for Windows 10, there are some factors you should check to make an informed decision.
Platform Compatibility
Choose which device is recording the video. Screen recorders for Windows 10 and Mac are available on most desktop options, but for iOS and Android, you’ll need to look for different solutions.
Check Performance
Select a video recorder that keeps up smooth performance throughout the recording and doesn’t use up too many system resources.
Recording Quality
Look for a video recorder that enables you to get excellent footage. Think about the software’s options for resolution and frame rate.
Ease of use
Recordings should be simple to start, stop, and pause with the software’s user-friendly interface. For convenience, look for features like programmable hotkeys and one-click recording.
Ultimately, the best video recorder for Windows 10 is the only one that suits your needs and budget.
Note: Take your time investigating and experimenting with various software available.
Part 2: How to Record video on Windows 10 with built-in Recorder
On Windows 10, the Xbox Game Bar is a built-in video recorder to capture your screen hassle-free. Here are the steps to perform it quickly:
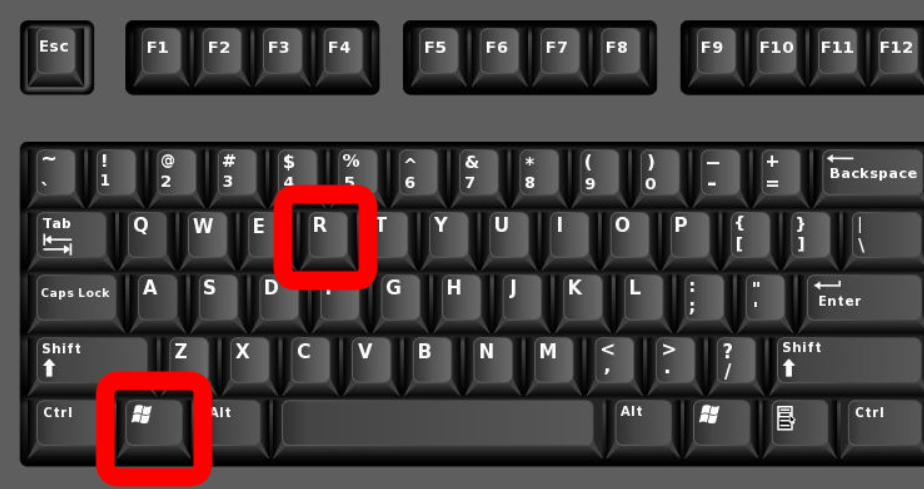
Step 1: Open the game, video, or application you want to record. Press the Windows logo key + Alt + R.
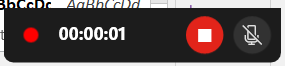
Step 2: The recording will start automatically. To stop, press the red and white button and the recording will stop immediately.
Taken self.
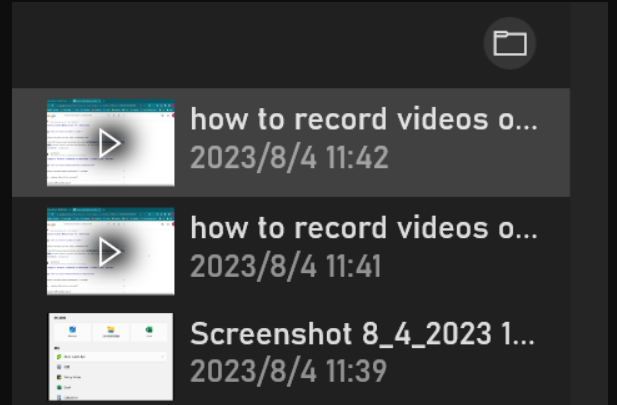
Step 3: Once done, press the Windows logo key + G to check the recorded videos.
Part 3: How to Record Video on Windows 10 with a Webcam
Recording videos on Windows 10 with a webcam is a breeze. If your PC or Laptop has an inbuilt camera then it becomes convenient otherwise you can install a webcam also. Follow the below steps to record the screen for Windows 10:
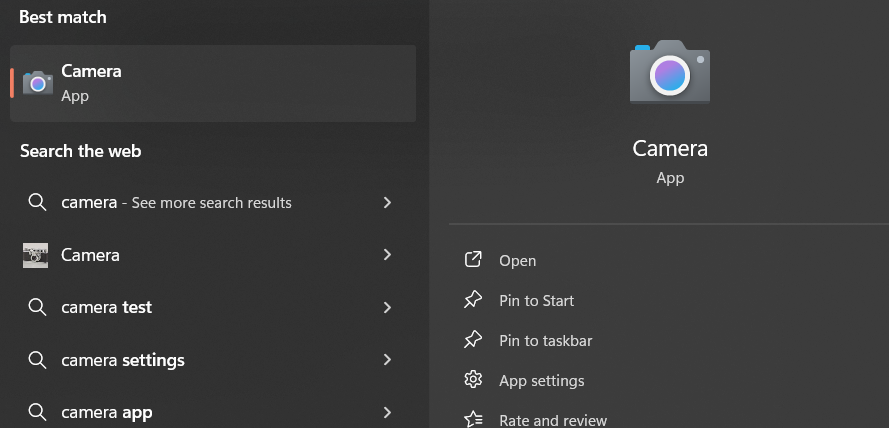
Step 1: Go to the start menu and search camera.
Taken self
Step 2: Open the camera and you’ll see two options either to record the screen or take the picture.

Taken self
Step 3: Select the video option by pressing the camera button. Your recording will start immediately. To start and pause the video, press the red button.

Taken self
Part 4: The 6 Best Smart Video Recorders to Record Videos on Windows 10
Besides built-in screen recorders in Windows 10, there are many paid and unpaid screen recorders on the market you can use to complete your job. Below I am sharing the 6 best smart video recorders to record videos on Windows 10.
-
Wondershare Democreator – Top-rated Video Recorder for PC
Wondershare Democreator is a top-rated screen recorder for PC. It’s recorded like a pro. Even its editing features AI-powered tools and rich effects make it a perfect ultimate video solution. This lightweight screen recorder for Windows and Mac can instantly capture anything worth sharing on your screen.
Key Features:
-
Effortless screen recording
-
Easy screen area selection recording
-
Smooth and clear recording up to 4k/8k and 120FPS
-
Multi-track recording
-
Free on-screen annotations
-
Schedule mode recording
-
Cloud storage sharing link
Let’s see a step-by-step guide on how to screen record in Windows 10 with Wondershare Democreator:
Step 1: Launch DemoCreator
To get started with screen recording with Windows 10, first download and install Wondershare DemoCreator on your PC.
For download, go to its official website- https://democreator.wondershare.com/ and click on the free download button.

The installation will take a few minutes. So, please be calm until then it is installed on your PC.
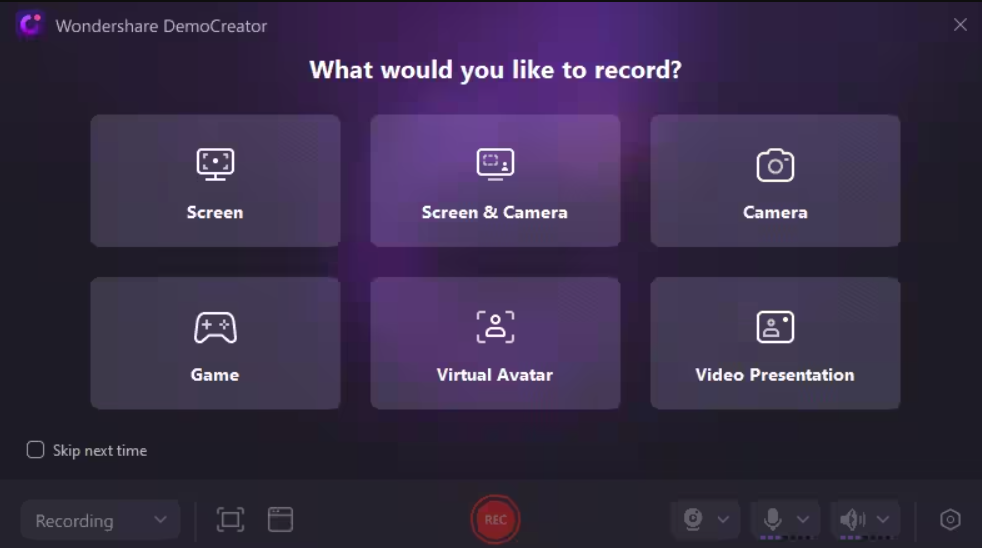
Step 2: Select Your Recording Mode
Select the video recorder and choose the recording mode, such as screen, camera, screen & camera, game, and video presentation.
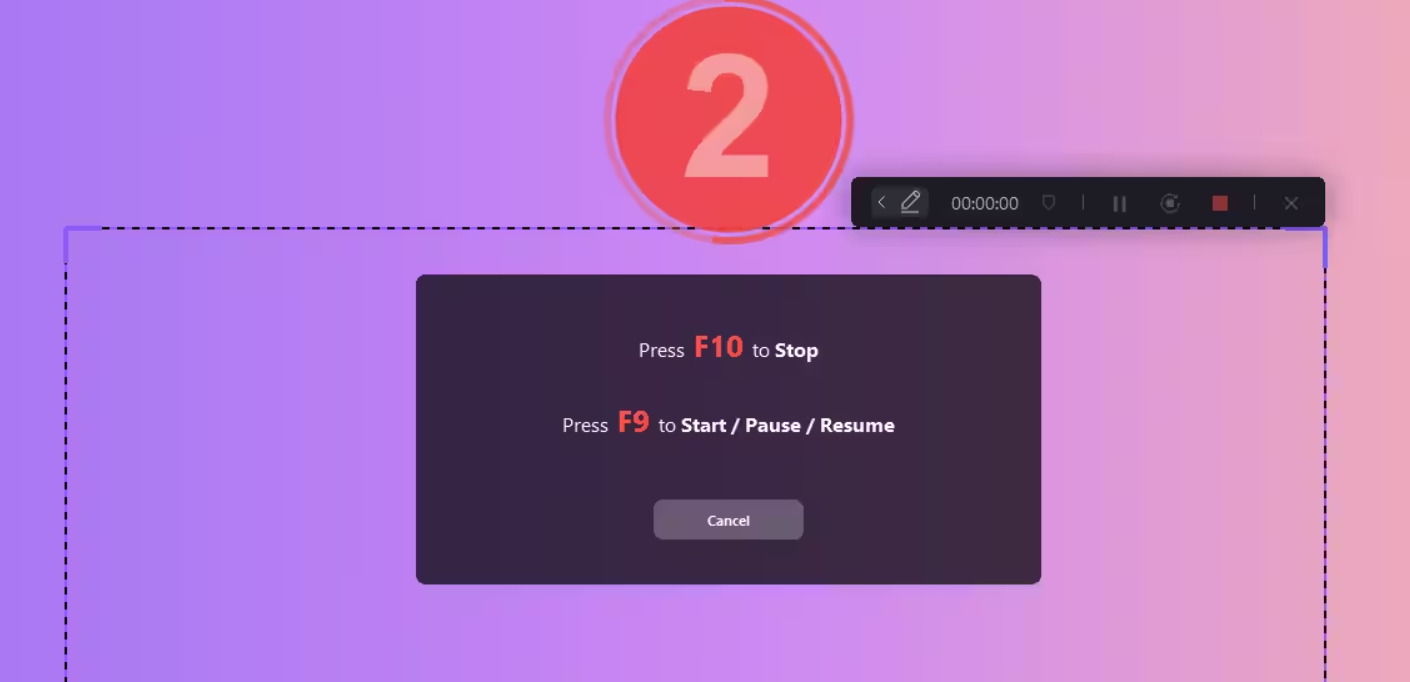
Step 3: Start Recording after Performing all Settings
You can perform various settings to make your recording screen experience simply better. The settings you can perform are:
-
Customize recording settings
-
Export configuration
-
Schedule recording settings
-
Start/finish recording
-
Screen drawing tool
Once you are done with all settings, start the recording with just a click.
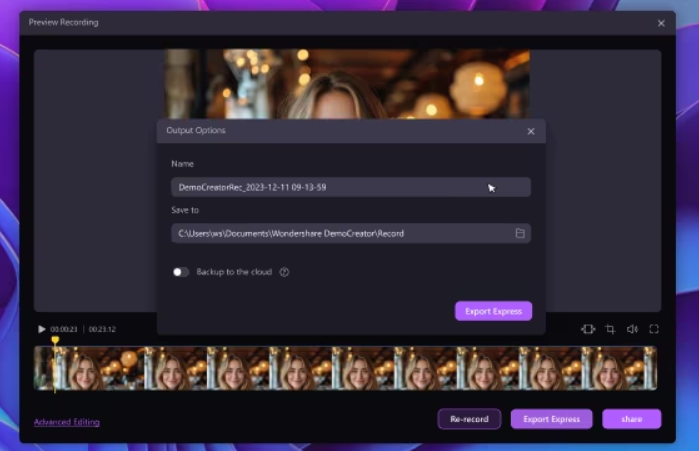
Step 4: Quick Edit and Save the Video
When recording is completed, you can easily edit and preview the recorded video. If you’re satisfied with the results, you can save video within a simple clicks.
-
Movavi Screen Recorder
The Movavi Screen recorder is a fantastic Windows 10 screen recorder that swiftly captures videos. You may record Webex meetings, webinars, and online seminars with this recording tool because of its robust features. Additionally, you have the option to record other screen occurrences as well, allowing you to freely use these resources to make videos.
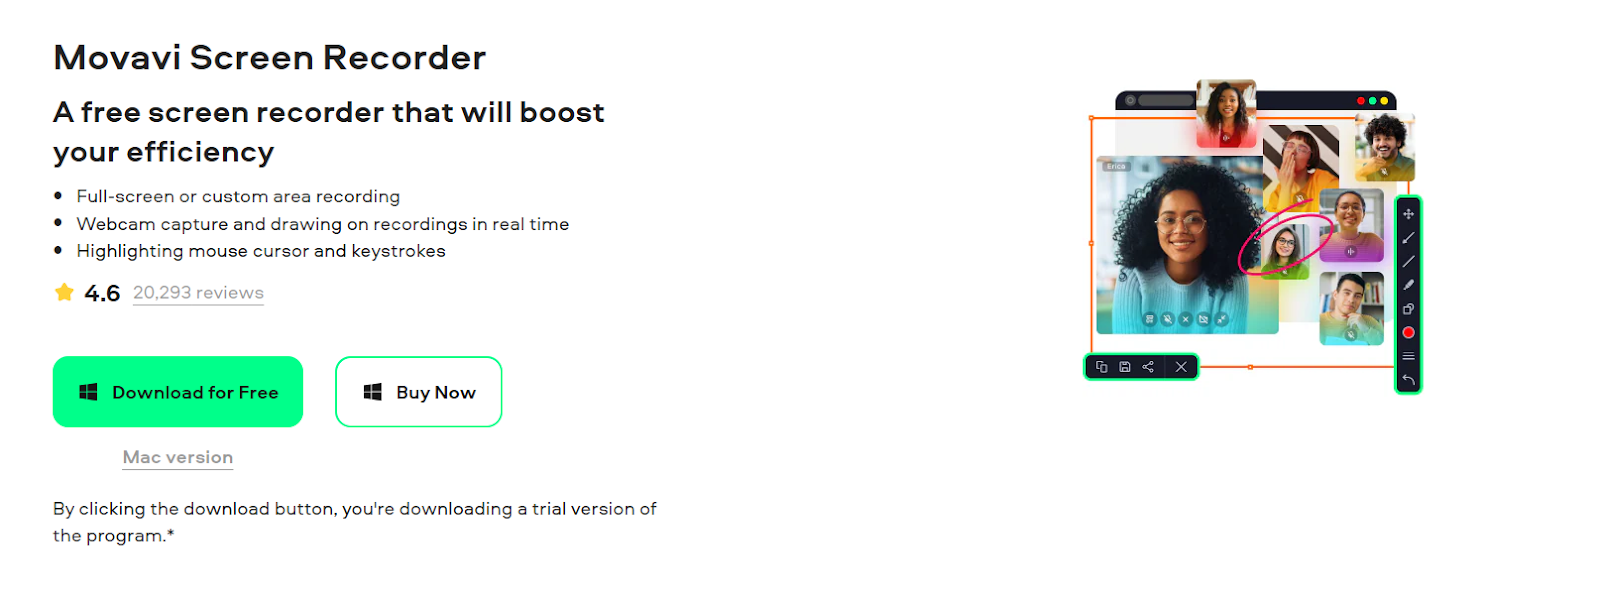
Key features:
-
Combine with essential video editor tools.
-
Give access to select the specific area to record.
-
Compatible with all versions of Windows.
-
Record screen, microphone, webcam, and system audio simultaneously.
-
Apply unique shapes and designs to your screen recording.
-
OBS Studio
If you are a gamer and want to record screens in Windows 10 with supreme quality, OBS Studio is a free and open-source video recording software you can use. It is a free version and doesn’t show any watermark on videos. Plus, it is compatible and simple to install on your PC and start recording. Also, it comes with amazing features to record high-quality screen recordings with audio capturing and mixing.
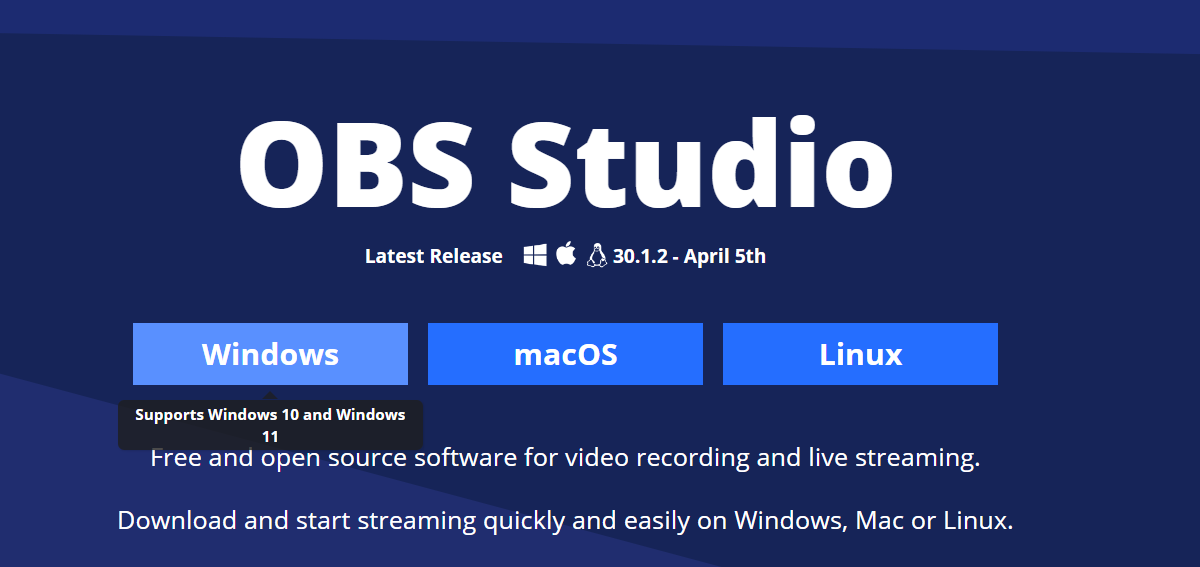
Key features:
-
Open source free recording software.
-
Record full-screen window, camera, and microphone as well as computer sound.
-
Provides filter options for scenes, audio, and pictures.
-
Noise reduction and audio normalization.
-
No watermarks and no ads.
-
Capture real-time video and audio.
-
Freedom to create Hotkeys.
-
Provides video broadcasting features.
-
Flashback Express
Flashback Express is yet another of the best screen recorders for Windows 10. It is made to make it simple for users to capture videos. Its user-friendly interface will let you record video on a PC even if you have no prior experience with the process. Additionally, users can record videos without a watermark and incorporate webcam footage into their screen recordings using this Windows 10 screen recorder. It’s also simple to share the captured video on YouTube.
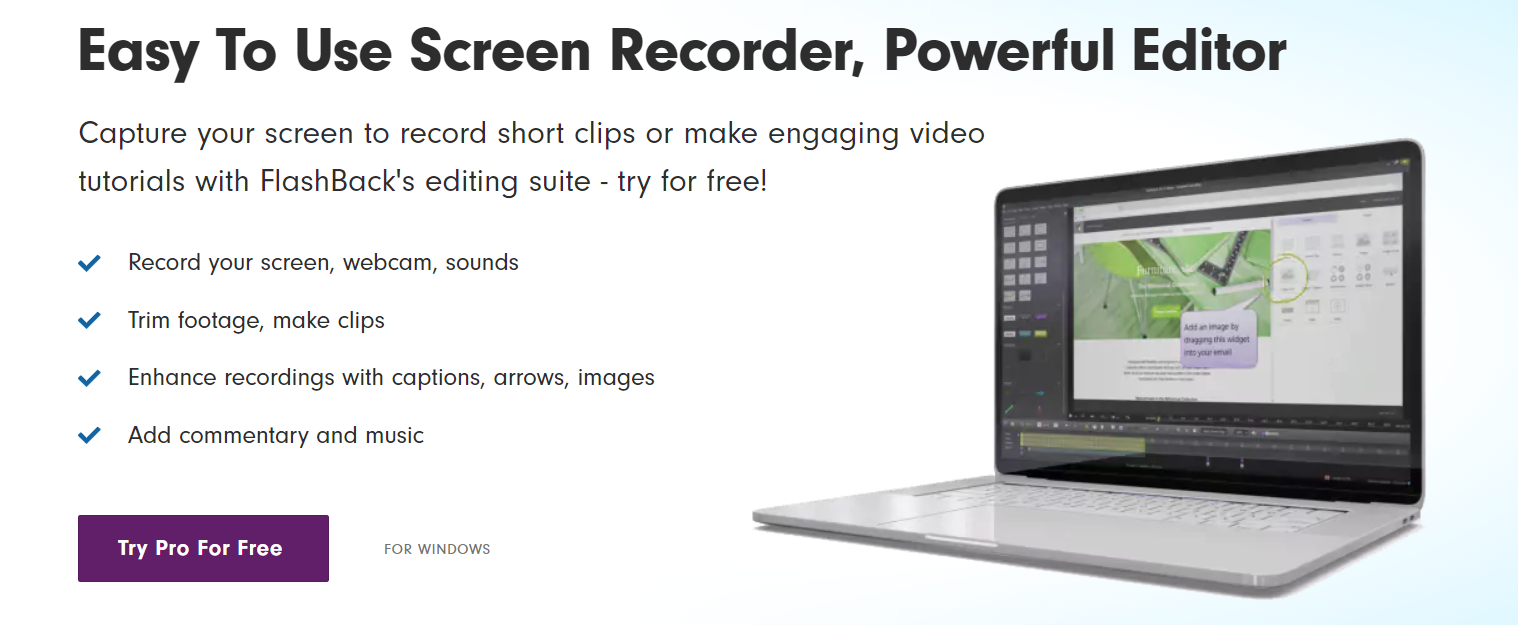
Key Features:
-
Provides high-performance lag-free HD capture.
-
Customize videos with gifs, FX, and stickers.
-
Record everything on the screen.
-
Capture monitor recordings.
-
No restrictions on time, watermark, or ad.
-
Videos exported in AVI, WMV, and MP4 format.
-
Ice-cream Screen Recorders
With the cutting-edge Windows video capture program Ice-cream Screen Recorder, users may record everything on a PC. It lets you easily and flexibly change the video resolution and window size. In addition, it can record Skype calls, game videos, tutorial videos, live streams, and much more for free. Its ability to record audio while you record your video is its most significant feature.
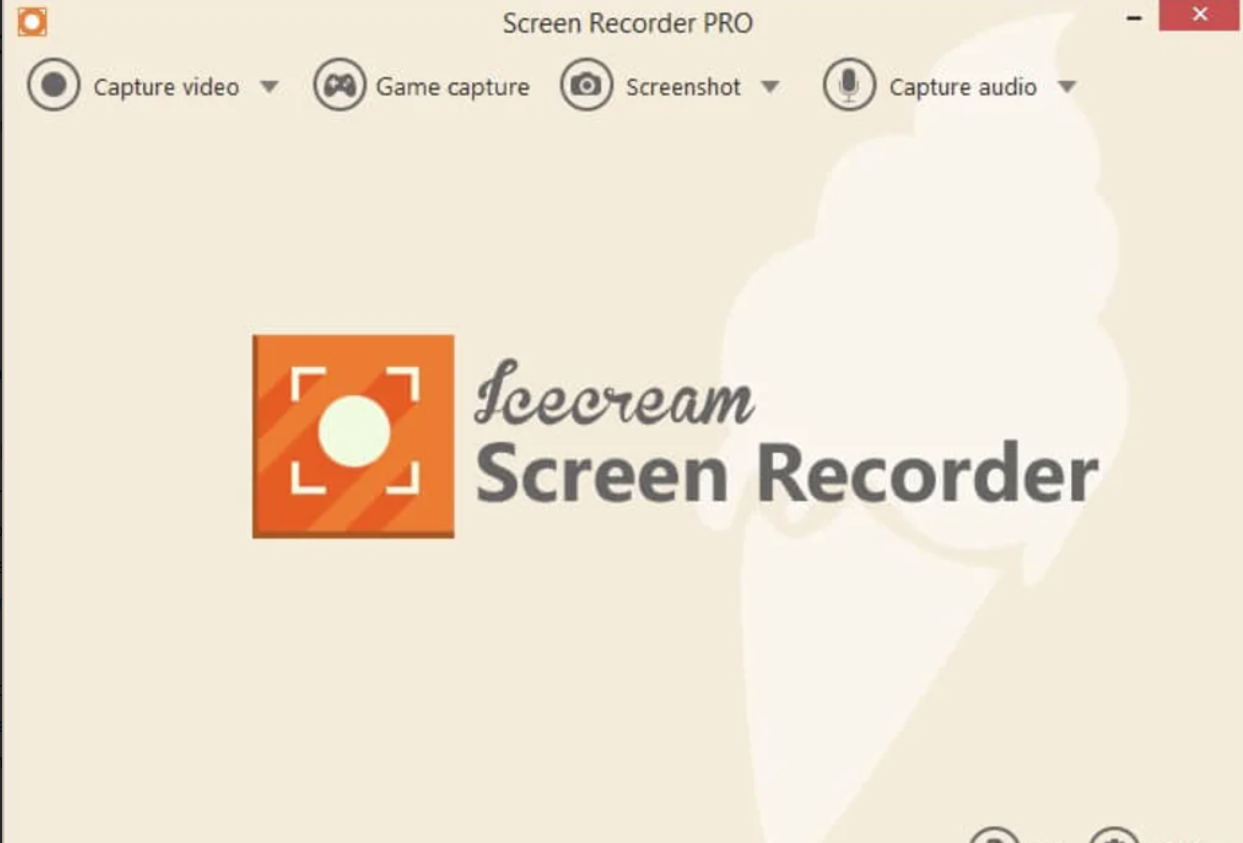
Key Features:
-
Effortless screen recording with audio
-
Record full screen or special area
-
Add annotation of records
Conclusion
That’s all I have to say! I hope this guide has helped you to identify the best screen recorders for Windows 10 using the built-in tool Xbox Game Bar and free tools such as Wondershare DemoCreator. With DemoCreator, you can record any video with customized video editing features. Why wait? Try the Wondershare DemoCreator trial today!
FAQ’s
Q1. Can I record myself on my PC?
Yes, you can record yourself on a PC with the help of a webcam.
Q2. Why can’t I record it in Windows?
If you’re unable to record in Windows, then must check permissions for screen recording or microphone. If you find microphone is disabled then slide the button to the right to enable it.
Q3. Does Windows 10 have a recording app?
Yes, both Windows 10 and 11 have built-in gameplay to record. If in case you’re not finding it or are unable to use it, download Wondershare DemoCreator to record your screen with ease.
 Join the official YWN WhatsApp status